pizza oven plans pdf
Discover the art of building a wood-fired pizza oven with free downloadable PDF plans, featuring traditional Italian designs, easy-to-follow instructions, and essential materials for a perfect DIY project․
Overview of the Pompeii Brick Oven Design
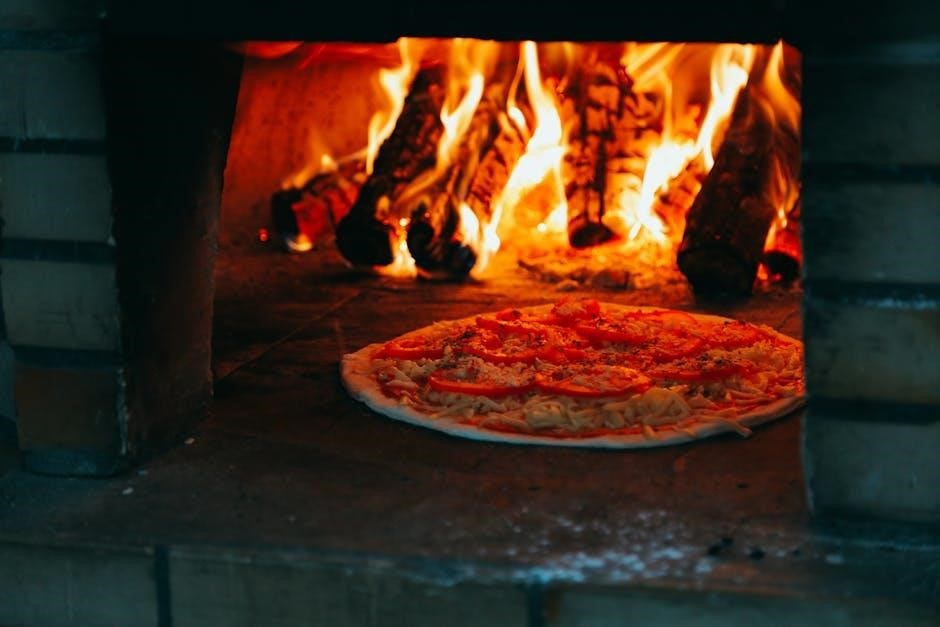
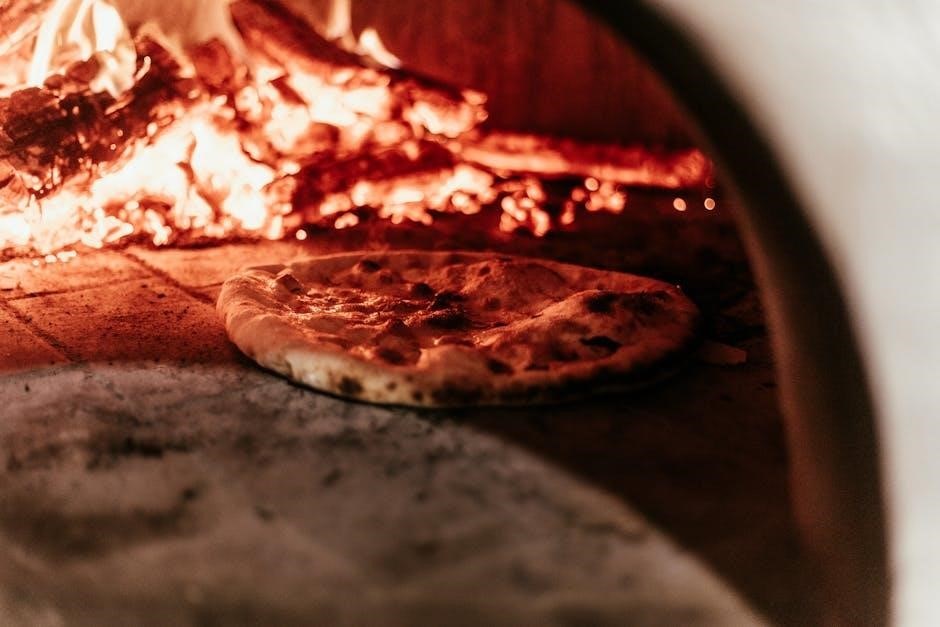
The Pompeii brick oven is a classic Italian-style wood-fired pizza oven designed for backyard cooking․ Built using firebricks, high-temperature mortar, and insulation, it combines traditional aesthetics with functional design․ The oven structure includes a base, cooking surface, and dome, creating a compact yet efficient cooking space․ Ideal for DIY enthusiasts, the Pompeii oven can be constructed with basic tools and materials sourced from local hardware stores․ Its design allows for customization, making it adaptable to various backyard settings․ The Pompeii oven is praised for its heat retention and ability to cook authentic wood-fired pizzas, offering a rewarding project for those passionate about outdoor cooking and traditional Italian cuisine․
Importance of Using Free Downloadable Plans
Free downloadable pizza oven plans are essential for DIY enthusiasts, providing clear guidance and step-by-step instructions to build a wood-fired or steel pizza oven․ These plans offer detailed material lists, construction methods, and design tips, ensuring a successful project․ They cater to various skill levels, from beginners to experienced builders, and often include customizable options to suit different budgets and spaces․ Using free plans helps in budgeting and planning, as they outline the exact materials and tools needed, preventing costly mistakes; Additionally, these plans are frequently tested and refined, offering reliable results․ They empower homeowners to create a professional-grade oven without professional assistance, making outdoor cooking more accessible and enjoyable․
Benefits of Building a DIY Pizza Oven
Building a DIY pizza oven offers numerous benefits, including cost savings, customization, and the satisfaction of creating something with your own hands․ A DIY project allows you to tailor the design to your space and preferences, ensuring a perfect fit for your outdoor area․ It also provides an opportunity to learn new skills and enjoy the pride of ownership․ Hosting gatherings becomes more enjoyable with a homemade pizza oven, as it adds a unique and authentic cooking experience․ Additionally, a well-built oven can last for years, providing lasting value and memorable meals for family and friends․ The process is rewarding and fun!
Choosing the Right Pizza Oven Plan
Selecting the ideal pizza oven plan involves considering design, functionality, and personal preferences․ Evaluate size, budget, and material options to find a plan that suits your needs perfectly․
Types of Pizza Ovens: Wood-Fired vs․ Steel
When choosing a pizza oven, two popular options are wood-fired and steel ovens․ Wood-fired ovens, like the traditional Pompeii design, use firebricks and high-temperature mortar, offering an authentic cooking experience with a unique flavor․ They require more maintenance but are prized for their heat retention and classic appeal․ Steel ovens, on the other hand, are modern, durable, and often more affordable․ They can be constructed using stainless steel and brick, making them versatile for both home and commercial use․ Each type has its benefits, so consider factors like budget, space, and desired cooking style to decide which suits your needs best․
Factors to Consider: Size, Material, and Budget
When selecting a pizza oven plan, consider size, material, and budget to ensure the project aligns with your needs․ The oven’s size should fit your available space and intended use, whether for small gatherings or large events․ Materials vary from traditional firebricks and mortar to modern steel constructions, each offering different durability and heat retention properties․ Budget plays a crucial role, as costs can vary significantly based on the materials chosen․ Plan accordingly to balance quality and affordability, ensuring your DIY project remains within your financial limits while delivering a functional and long-lasting result․
Popular Designs: Pompeii Oven vs․ Barrel Oven
The Pompeii Oven and Barrel Oven are two popular designs for DIY pizza ovens, each offering unique benefits․ The Pompeii Oven, inspired by traditional Italian brick ovens, features a dome shape built with firebricks and high-temperature mortar, ideal for heat retention and authentic wood-fired cooking․ In contrast, the Barrel Oven utilizes a metal barrel as its base, providing a simpler and more affordable option for homeowners․ Both designs are well-documented in free PDF plans, making them accessible for enthusiasts․ While the Pompeii Oven is praised for its durability and classic aesthetic, the Barrel Oven is favored for its ease of construction and cost-effectiveness, catering to different preferences and skill levels․
Materials and Tools Required
Firebricks, high-temperature mortar, and insulation are essential for heat retention․ Steel options are also available for durability․ Tools include trowels, levels, and saws for precise construction․
Firebricks, Mortar, and Insulation
Firebricks are the cornerstone of a pizza oven, providing durability and heat retention․ High-temperature mortar ensures strong bonds between bricks, while insulation materials like ceramic fiber or vermiculite retain heat efficiently․ These components are readily available at hardware stores or specialty suppliers, making them accessible for DIY projects․ Proper application of mortar and insulation is critical to ensure the oven’s structural integrity and cooking performance․ Firebricks are arranged in a specific pattern to form the oven’s dome and hearth, while insulation layers minimize heat loss․ Following the PDF plans carefully guarantees a professional finish and long-lasting functionality for your homemade pizza oven․
Steel Construction: Stainless Steel and Brick
Steel construction offers a durable and modern alternative to traditional brick ovens․ Stainless steel is highly resistant to rust and heat, making it ideal for pizza ovens․ Combining steel with brick provides excellent heat retention and cooking performance․ Steel frames are often used for their strength and ease of shaping, while bricks line the interior for thermal mass․ This hybrid approach allows for versatile designs, from compact to large ovens․ Steel construction is also low maintenance and easy to clean․ Plans often include specifications for steel thickness and brick placement to ensure optimal results․ This method is perfect for those seeking a balance between modern materials and traditional cooking techniques․
Essential Tools for the Build

To successfully construct a pizza oven, having the right tools is crucial․ A shovel and trowel are necessary for mixing and applying mortar․ A level ensures the base and walls are perfectly aligned․ Gloves and safety goggles protect during construction․ A spirit level, hammer, and saw are essential for precise cuts and placements․ Measuring tapes and string lines help maintain accuracy․ Fireproof insulation requires specialized tools like a utility knife․ A wire brush cleans surfaces before applying mortar․ For steel construction, welding equipment may be needed․ Having all these tools ready ensures a smooth and efficient building process․ Proper preparation is key to achieving a professional-looking oven․

Step-by-Step Construction Guide
A comprehensive guide outlining the process from base preparation to dome construction, ensuring a sturdy and functional outdoor pizza oven for years of enjoyment․
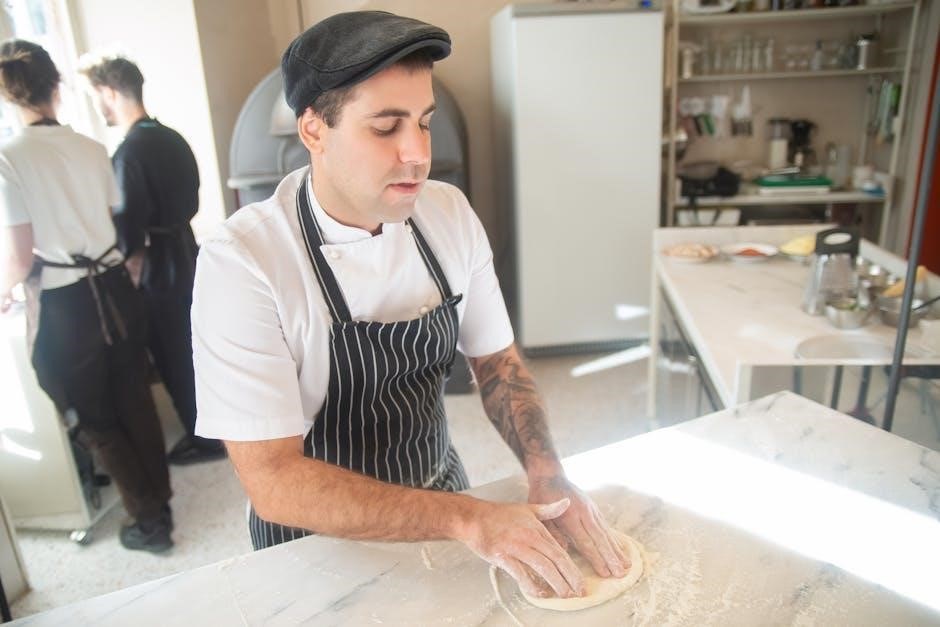
Step 1: Preparing the Base
Preparing the base is the foundation of your pizza oven project․ Start by selecting a flat, stable site, ensuring proper drainage and accessibility․ Clear the area of debris and vegetation․ Mark the dimensions of your oven base using a template or string․ Dig a shallow trench for the foundation, typically 4-6 inches deep, depending on your design․ Fill the trench with compacted gravel for drainage and stability․ Pour a concrete slab over the gravel, ensuring it is level and evenly spread․ Allow the concrete to cure completely, usually 24-48 hours, before proceeding․ A well-prepared base ensures a sturdy and durable pizza oven structure․
Step 2: Casting the Slab
Casting the slab is a critical step in building your pizza oven․ Once the base is ready, construct a frame around it using 2×4 lumber to hold the slab in place․ Ensure the frame is level and aligns perfectly with the base dimensions․ Next, mix refractory concrete or firebrick mortar according to the instructions, and pour it into the frame․ Use a trowel to spread the mixture evenly, ensuring a smooth surface․ Allow the slab to dry slowly under a damp cloth or plastic sheet for 24-48 hours to prevent cracking․ After curing, the slab will serve as the durable cooking surface for your oven, ready for the next steps in construction․
Step 3: Building the Base Walls
After the slab is set, begin constructing the base walls to provide structural support and insulation for your pizza oven․ Start by laying firebricks around the perimeter of the slab, ensuring each brick is level and securely mortared․ Use high-temperature mortar to bond the bricks, as it withstands extreme heat․ Continue building the walls in layers, alternating between brick and mortar, ensuring each course is level and plumb․ Leave space for insulation material, such as refractory insulation or ceramic fiber, to retain heat and improve efficiency․ Once the walls reach the desired height, allow the mortar to set completely before proceeding to the next step․ Properly cured walls will ensure a sturdy foundation for your oven dome․
Step 4: Constructing the Oven Dome
Constructing the oven dome is the most critical part of the pizza oven build․ Begin by creating a circular base using sand or mortar as a mold․ Stack firebricks around the perimeter, shaping them to form the dome’s curve․ Use high-temperature mortar to secure each brick, ensuring tight joints for heat retention․ As you build upward, gradually reduce the size of each layer to achieve the desired dome shape․ Once the structure is complete, smooth the interior surface with a trowel for even heat distribution․ Allow the mortar to cure fully before proceeding to insulation and finishing touches․ A well-built dome ensures efficient cooking and long-lasting performance․
Step 5: Installing Insulation and Finishing Touches
After constructing the dome, install insulation to improve heat retention․ Apply a layer of ceramic fiber or vermiculite around the dome and base, securing it with wire mesh․ Cover with a protective layer of refractory mortar or concrete render․ For a decorative finish, apply a chimney-style exterior or tilework․ Ensure all surfaces are sealed to withstand weather conditions․ Allow the insulation and finishes to cure completely before firing the oven․ Finally, test the oven with small fires to season it and ensure proper functionality․ Proper insulation and finishing ensure efficiency, durability, and a professional appearance for your homemade pizza oven․

Design Customization and Tips
Personalize your pizza oven with creative designs, materials, and finishes․ Use refractory materials for heat retention and add a decorative exterior or chimney for enhanced functionality and visual appeal․
Designing Your Own Pizza Oven
Designing your own pizza oven allows for personalization to suit your space and style․ Start with free downloadable PDF plans as a foundation, then tailor dimensions, shape, and materials to your preferences․ Use firebricks, high-temperature mortar, and insulation for durability and heat retention․ Consider adding a decorative exterior or chimney for enhanced functionality and visual appeal․ For a unique touch, incorporate refractory materials or experiment with modular designs․ Many plans include step-by-step guides, making it easier to customize while ensuring structural integrity․ With creativity, you can create a functional and aesthetically pleasing oven that reflects your DIY skills and complements your outdoor kitchen or garden setting․
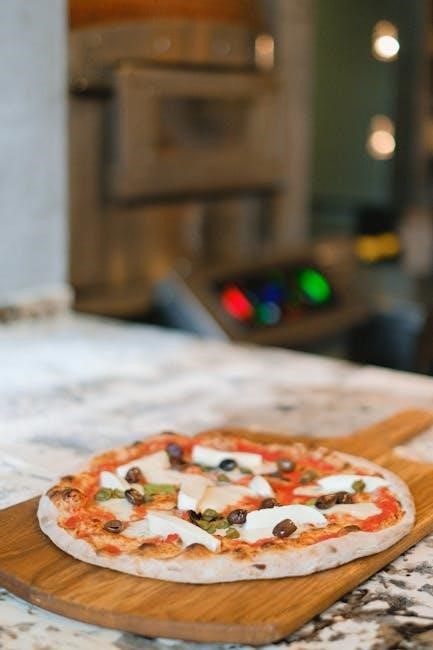
Adding a Cooking Surface and Dome
Adding a cooking surface and dome is a critical step in building a functional pizza oven․ The cooking surface, typically made of firebricks or refractory material, ensures even heat distribution and durability․ The dome, often constructed using firebricks and high-temperature mortar, is designed to retain heat and promote airflow for optimal cooking․ Many free PDF plans provide detailed instructions for shaping the dome, including the use of a temporary mold like an exercise ball․ Proper insulation beneath the surface and around the dome is essential for heat retention․ These elements work together to create a high-performance oven capable of achieving the perfect pizza crust and cooking a variety of dishes efficiently․
Using Refractory Materials for Heat Retention
Refractory materials are essential for maintaining high temperatures in pizza ovens, ensuring efficient cooking and energy efficiency․ Firebricks, high-temperature mortar, and insulation are commonly used due to their ability to withstand extreme heat without degrading․ These materials help retain heat within the oven, allowing for consistent cooking temperatures and crispy crusts․ Proper installation of refractory insulation around the dome and beneath the cooking surface is crucial for optimal performance․ Many free PDF plans provide detailed guidance on selecting and applying these materials, ensuring your oven achieves professional-grade results․ Using refractory materials not only enhances cooking performance but also extends the oven’s longevity․
Budgeting and Cost Management
Estimate material costs for firebricks, mortar, and insulation, and compare DIY projects with pre-made kits to manage your budget effectively and achieve your pizza oven goals․
Estimating Material Costs
Estimating material costs for a pizza oven involves listing all required components, such as firebricks, high-temperature mortar, insulation, and steel components․ Prices vary depending on the supplier and location, but firebricks and mortar are typically the most significant expenses․ Insulation materials, though essential for heat retention, are relatively more affordable․ Additional costs may include tools like trowels, levels, and safety gear․ It’s important to create a detailed list and compare prices from local hardware stores or online retailers like Home Depot or Lowe’s to ensure accuracy and stay within budget․ This step helps prevent unexpected expenses during construction․
For a basic wood-fired oven, initial material costs can range from $500 to $1,500, depending on size and design complexity․ DIY projects often save money compared to pre-made kits, but careful planning is crucial to avoid budget overruns․ By sourcing materials efficiently and adhering to the plans, you can build a durable and functional pizza oven without overspending․ Proper estimation ensures the project remains feasible and enjoyable from start to finish․
Comparing DIY vs․ Pre-Made Kits
When deciding between a DIY pizza oven and a pre-made kit, consider your skills, time, and budget․ DIY projects offer customization and cost savings but require significant effort and planning․ Pre-made kits are more expensive but provide convenience, with pre-cut materials and straightforward assembly․ DIY enthusiasts often prefer the satisfaction of building from scratch, while others value the time-saving aspect of kits․ Both options can result in a functional and durable oven, but the choice depends on personal preferences and resources․ Comparing the two helps determine the best approach for your pizza oven project․
Safety and Maintenance
Ensure proper ventilation and handle materials safely during construction․ Regularly inspect and clean the oven to maintain performance and longevity, following all safety guidelines provided․
Safety Precautions During Construction
When building a pizza oven, prioritize safety to avoid accidents․ Wear protective gear like gloves, goggles, and a dust mask when handling materials․ Ensure proper ventilation to prevent inhaling dust or fumes from mortar and insulation․ Keep flammable materials away from the construction area․ Avoid working in extreme weather conditions․ Use heat-resistant tools and follow proper lifting techniques to prevent injury․ Keep children and pets away from the site․ Regularly inspect tools and materials for damage․ Follow local building codes and safety guidelines for outdoor constructions․ Properly store leftover materials to maintain a clean workspace․ Safety should always come first to enjoy your DIY project successfully․
Maintenance Tips for Longevity
Regular maintenance ensures your pizza oven remains functional and durable․ Clean the interior after each use to remove food residue and soot․ Inspect the structure for cracks and reapply mortar as needed․ Use a wire brush to scrub the cooking surface and chimney․ Allow the oven to cool completely before covering it to prevent moisture buildup․ Apply a waterproof sealant to exterior surfaces to protect against weather damage․ Store combustible materials away from the oven․ Avoid using abrasive cleaners that can damage the bricks or mortar․ Schedule annual inspections to ensure heat retention and structural integrity․ Proper care extends the life of your oven․ Regular maintenance also enhances cooking performance and safety․
Additional Resources
Explore free PDF guides, tutorials, and supplier lists to enhance your DIY pizza oven project․ Access downloadable plans, material recommendations, and expert tips for a successful build․
Free PDF Plans and Guides
Access comprehensive free PDF plans and guides for building your pizza oven․ These resources include detailed step-by-step instructions, material lists, and design templates․ Downloadable documents like the Pompeii Oven Plans 2․0․pdf offer traditional Italian brick oven designs, while others provide modern steel construction guides․ Many plans are accompanied by SketchUp models and bills of quantities, making it easier to plan and execute your project․ These guides cover everything from preparing the base to constructing the dome, ensuring a professional finish․ Whether you’re a DIY novice or experienced builder, these free resources provide the tools and confidence to create your ideal pizza oven at home․
Recommended Tools and Materials Suppliers
For a successful pizza oven project, sourcing high-quality tools and materials is essential․ Recommended suppliers include Home Depot, Lowe’s, and B&Q, which offer firebricks, high-temperature mortar, and insulation․ Superior Clay provides specialized components for traditional oven builds, while Forno Bravo offers refractory materials and expert guidance․ Additionally, local hardware stores and online retailers like Amazon supply stainless steel and brick construction essentials․ These suppliers ensure you have everything needed to construct a durable and efficient pizza oven, whether you’re using wood-fired or steel designs․ Having the right materials on hand guarantees a professional finish and long-lasting performance for your DIY project․